Longacres Garden Centres Guide On Create A Fresh Wreath
Here is our handy guide on how to create your very own fresh wreath for this festive season. Don't forget, you can buy all the essential materials at Longacres Garden Centre or speak to a member of floristry staff who can create a stunning buttonhole for you.
You will need:

Step 1
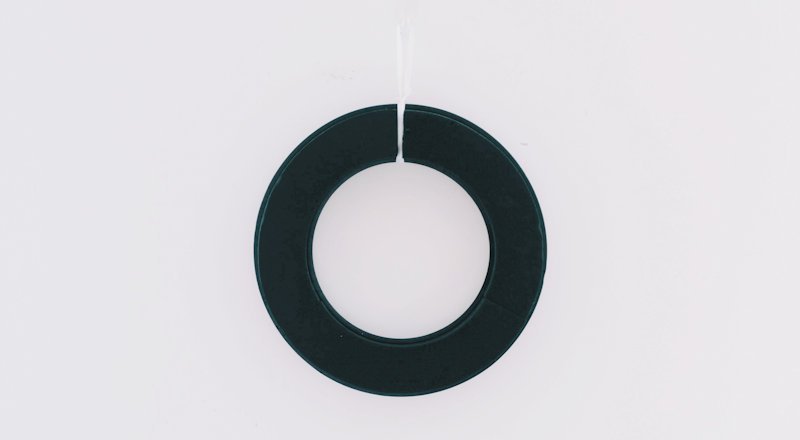
Soak your oasis ring by placing it top down into a bucket of water, leaving for around five minutes. Do not try and push it into the water as this will create air bubbles and may mean your flowers aren’t able to absorb the water.
Step 2
Once soaked, attach a hook. This can be created by using poly ribbon, as done here, or a thick wire.

Step 3
Cut your spruce into usable sizes and remove about an inch of its needles off the stem.

Step 4
Insert your spruce into the oasis as far in as the stem is stripped. Spiralling the stems in the same direction can add to the overall look. Make sure you cover the backing of the oasis ring both on the outside and inside. Bring a few pieces through the middle of the oasis like pictured.
Step 5
As with your spruce, cut your eucalyptus into usable pieces and strip an inch of foliage off the stem. Insert into the oasis as you did with the spruce, focusing on the outside and centre, bringing only a few pieces into the middle, making sure you keep your spiral. It can look nice to keep your eucalyptus longer than the spruce to create a more relaxed and natural feel.

Step 6
As with your other foliage, cut your pittosporum into usable pieces and strip an inch of foliage off the stem. Insert into the oasis, but this time use the foliage to fill the middle of your wreath whilst keeping your spiral. Vary the lengths of the pittosporum to prevent it from becoming clumpy.

Step 7
Now it’s time to start adding your flowers. Cut your gypsophila into usable pieces and scatter through your wreath. Gypsophila
works best when kept long to create a halo effect. Continue to add your other filler flowers into the oasis. Here we have used statice and white thistles. Don’t worry if it is looking a bit bitty at this point as you are about to add your focal flower and decorations.
Step 8

Now add your focal flower. Here we have used a beautiful spray rose. Because this is the most important flower it can add impact to cluster them. When clustering always work in odd numbers, three or five works well. Add them to your wreath as you did with your other items, by cutting them into usable pieces and inserting the stem into the oasis, around an inch deep.

Step 9
You can choose to leave your wreath as it is now or you can choose to add some dried decorations. Here we have opted to add a bow, some cones and some cinnamon to finish the wreath off.
Now hang your wreath on your door or above a fireplace and enjoy the fruits of your labour.


